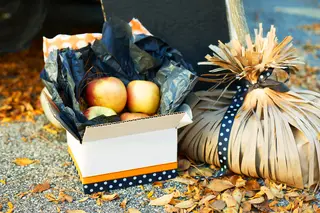
You’ve got your one-of-a-kind trunk or treat idea—but how to bring your concept to life? Paper, posterboard and cardboard make for a setup that’s easy and makes use of items you have on hand, minimizing trips to the craft store.
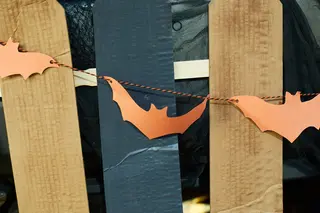
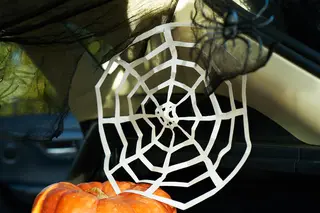
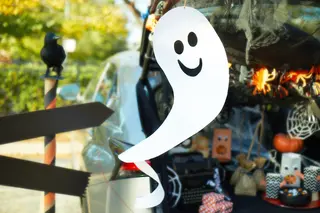
We chose a spooky Halloween theme, but many of the ideas here can be adapted to your theme—treat bags and boxes in colors that match your look, for example. Flesh out the immersive effect by extending your setup beyond the vehicle itself, as with our cardboard “stone” pathway that leads to the trunk. Masking the car by covering the bumper in some way also helps create a look; here we created a rickety “fence” using cardboard.
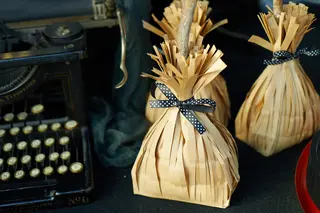
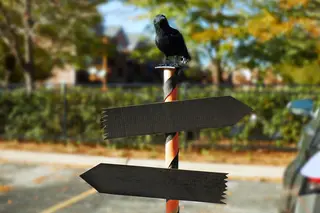
Below are instructions for the two core concepts behind our trunk: candy and food presentation (monster treat bags, harvest box and broomstick treat bag) and decorating the actual vehicle (signpost, bat garland, spiderweb and ghosts). Now go knock it out of the park—or, at least, the parking lot.
-
Supplies
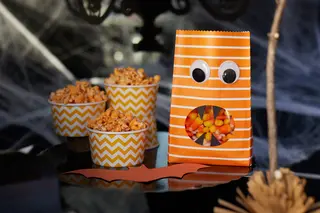
- Black or white construction paper
- Paper treat bags with window
- Stick-on googly eyes
- Candy
- Scissors
- Glue
Instructions- Cut small triangles from black or white construction paper to make “fangs.”
- Glue triangles around window of treat bag to create fangs.
- Affix googly eyes and fill with candy
-
-
-
-
-
-